👉 Quick Start
Overview
This tutorial will guide you on how to set up your mintBlue account, create a new project, and send your first transaction from the mintBlue Console. Finally, let's create an Access Token you can later use to submit transactions to mintBlue using the mintBlue SDK or JSON-RPC.
Steps:
- Create an account
- Create a project
- Send a transaction
- Retrieve a transaction
- Create an access token
Step 1: Create an account
To sign up, go to the signup page and follow the instructions to create your account.
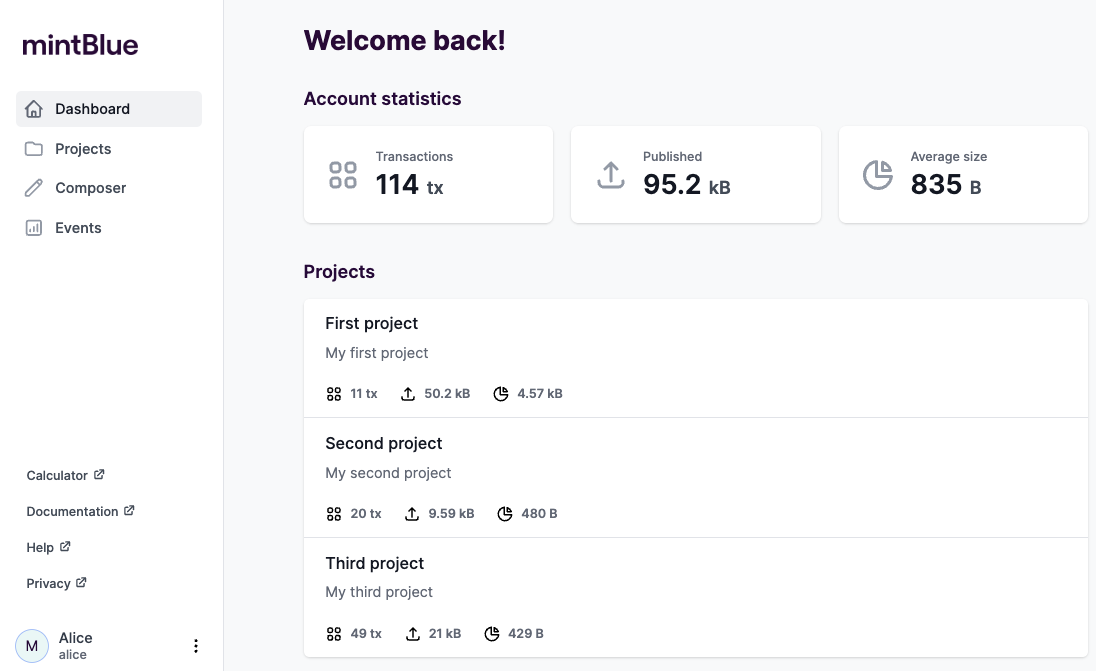
Once you've created your account, make sure to log in to the mintBlue Console. Your mintBlue Console should look similar to the one below.
Step 2: Create a project
Before we can send transactions, we need to create a new project. Each project contains transactions and allows you to categorize transactions per project.
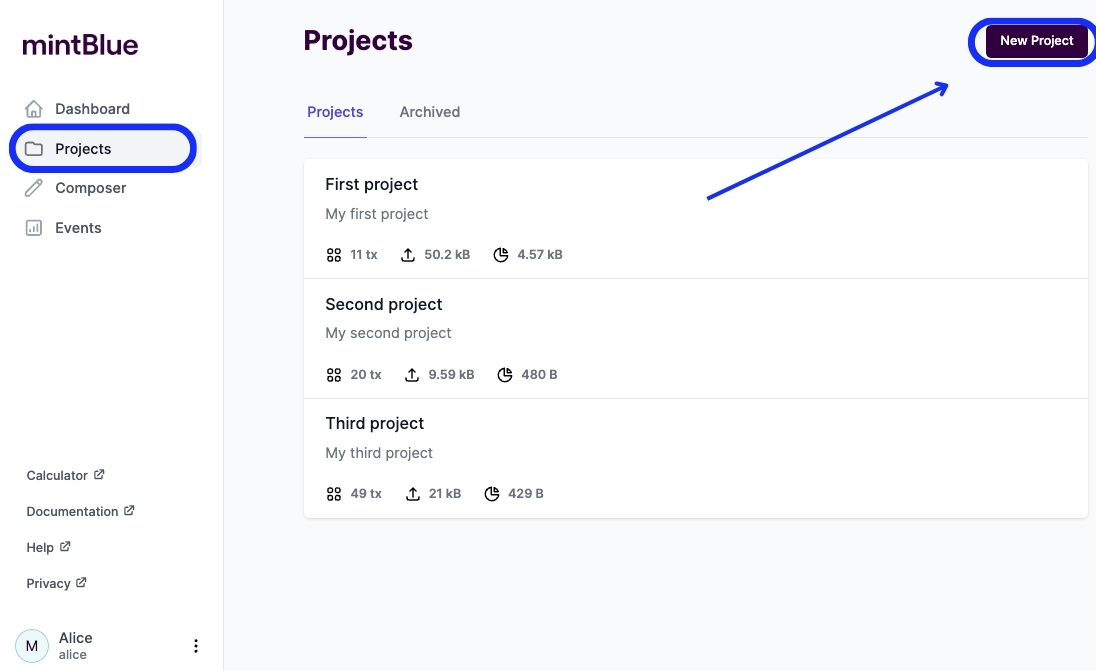
Navigate to the Projects menu item in the navigation on the left and click the "New Project" button to create a new project.
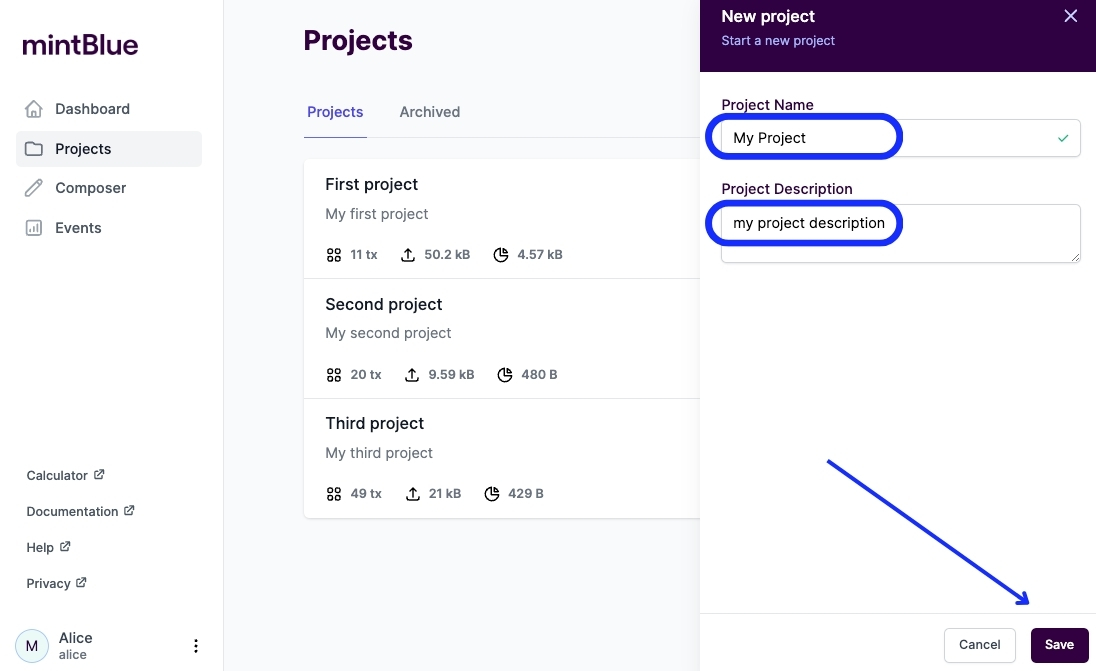
Provide the project name and an optional project description. Then click the save button.
Once you've created a project, it will appear in your Projects list.
Click on the project to access its dedicated overview page, where you will find several important features and information about your project.
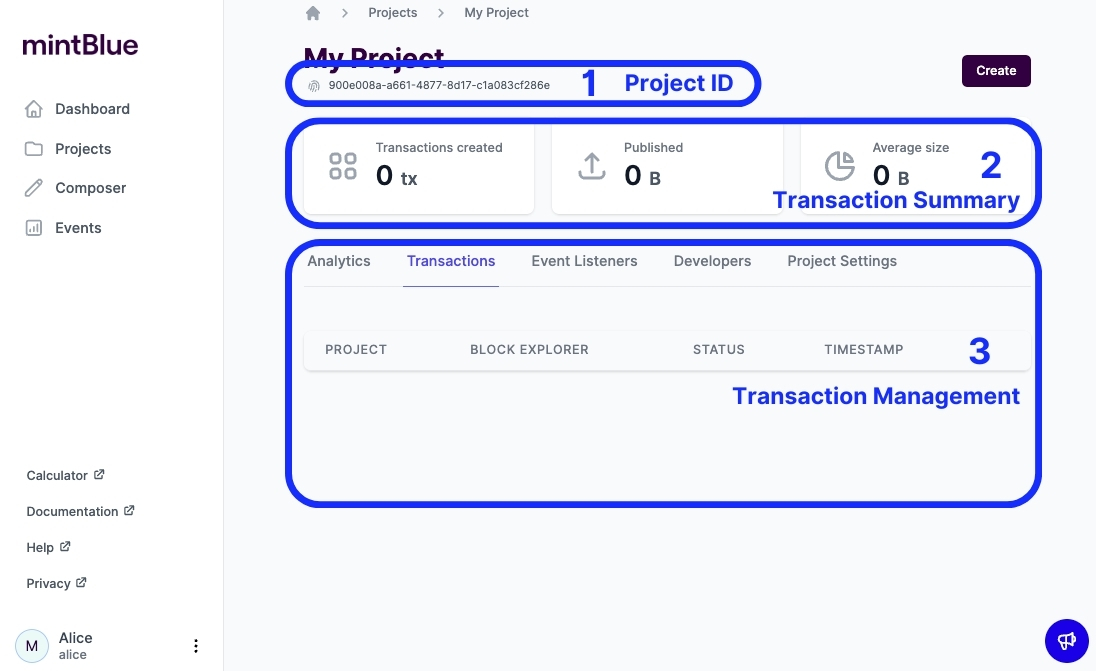
Each number corresponds to an item on the image above:
1. Project ID: This is a unique identifier for your project. You'll need this ID for interactions through the mintBlue SDK or JSON RPC server.
2. Transaction Summary: This section displays:
- The total number of transactions submitted under your project.
- The total size of all published transactions.
- The average transaction size.
3. Transaction Management:
- Analytics: View statistics related to your transaction history.
- Explore Transactions: View transactions associated with your project.
- Create Event Listeners: Set up listeners to track specific events within your project.
- Project Settings: Modify your project's settings, such as renaming your project or archiving it.
Step 3: Send transactions from the mintBlue Composer
It's time to send some data to the Bitcoin blockchain. Instead of immediately using the SDK, we can try out different transactions using the mintBlue Composer. It's an easy option to get familiar with the different transactions mintBlue offers.
Navigate to the Composer menu item in the navigation on the left. Select the right project. In the example, you can see that the project_id field has changed in the Preview. This project_id matches the project ID you could find on your dedicated project overview page.
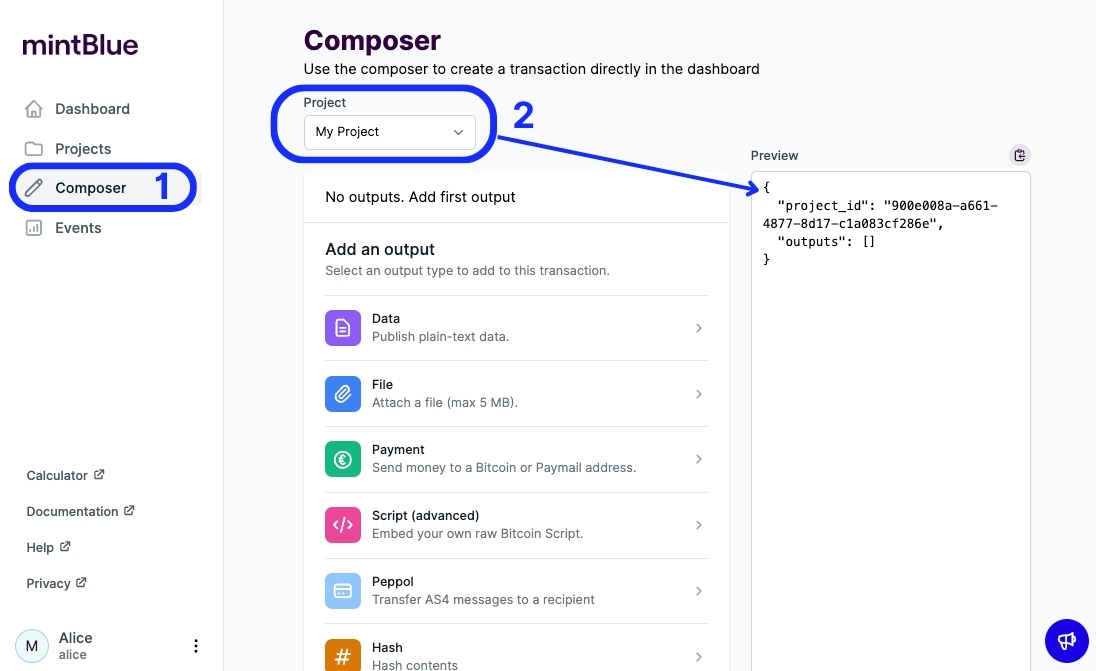
Now, let's store an invoice ID on the blockchain. We can pick a data output to store plain-text data. You can see the JSON object change in the Preview pane as you type. Notice that the Encrypt checkbox is checked. This means that the data will be encrypted before it's stored on the blockchain. Only you can decrypt the data using your private key.
To submit the transaction, click the button on the bottom Send Transaction Request.
![]()
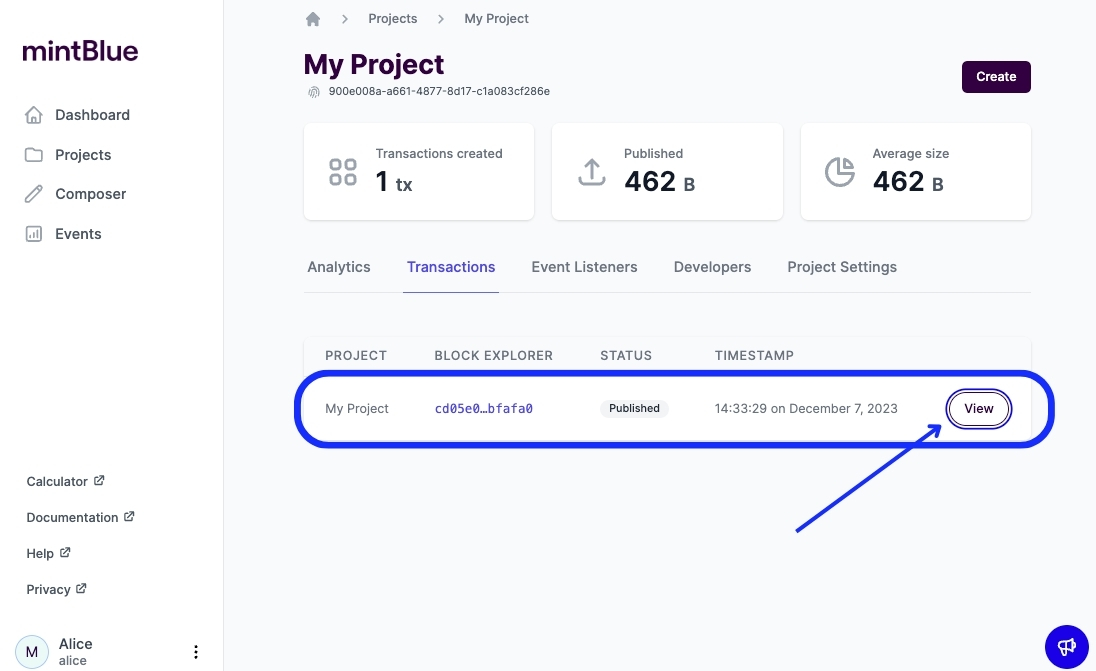
Step 4: Explore the transaction
We have submitted our transaction to the Bitcoin blockchain. Let's look up the transaction details in your detailed project overview. Make sure to navigate to the Transactions view. Click on the View button to see more details for your transaction.
The transaction details show you information like the transaction ID. When you click the URL, you'll be redirected to https://whatsonchain.com, a transaction explorer for the Bitcoin blockchain. If you selected the Encrypt checkbox in the mintBlue Composer, you'll see that the transaction output is encrypted on Whatsonchain.
Further below, you'll find the transaction content. The value attribute contains your order ID. If you scroll further down, you'll find a payment output which you didn't create. This output is created by mintBlue to pay for the transaction fees.
![]()
Step 5: Create an access token
In this last step, let's create an access token. We need an access token to talk to the mintBlue SDK, JSON-RPC, or API.
An access token comes in two forms:
- API Access Token
- SDK Access Token
API Access Tokens can be used to talk with mintBlue's API directly. They cannot be used to decrypt your non-custodial keys. If you are making a Zapier automation, use the API token.
SDK Access Tokens are used to initialize your mintBlue SDK and have the ability to decrypt your non-custodial keys for local use.
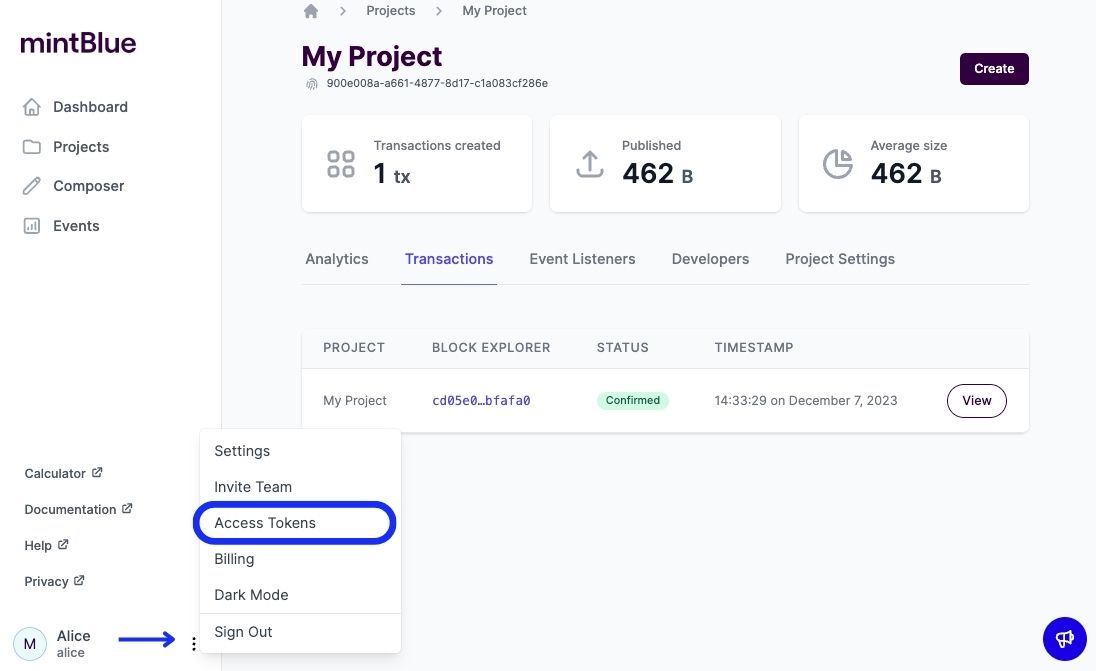
Click on the three dots next to your account name on the left bottom. Then click on the menu item Access Tokens.
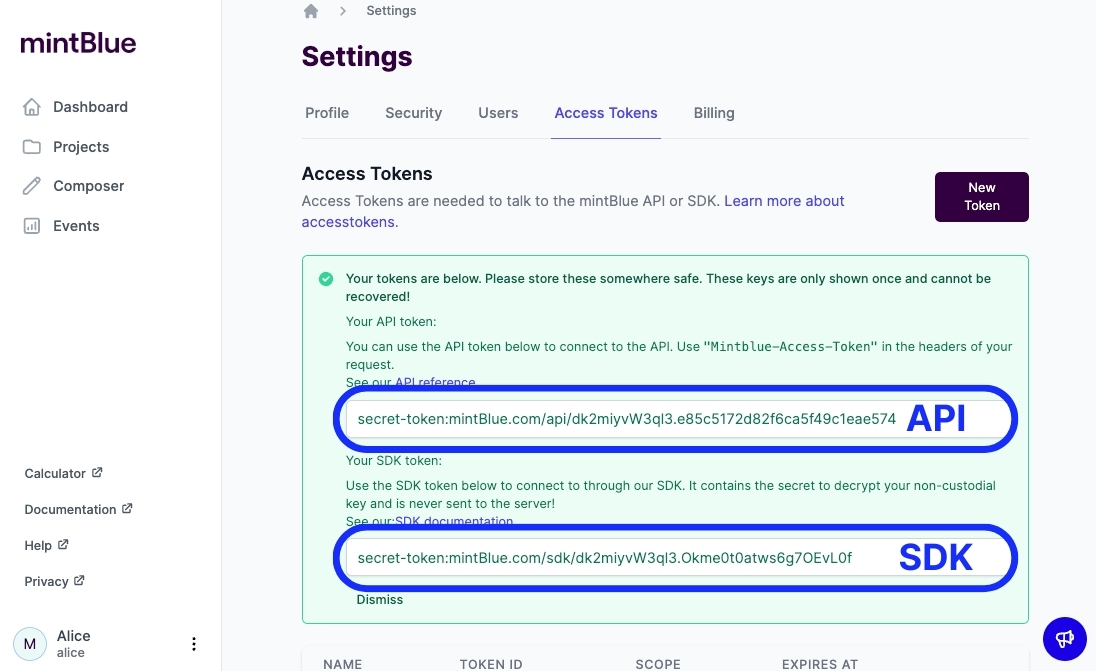
Navigate to the Access Tokens tab and click New Token.
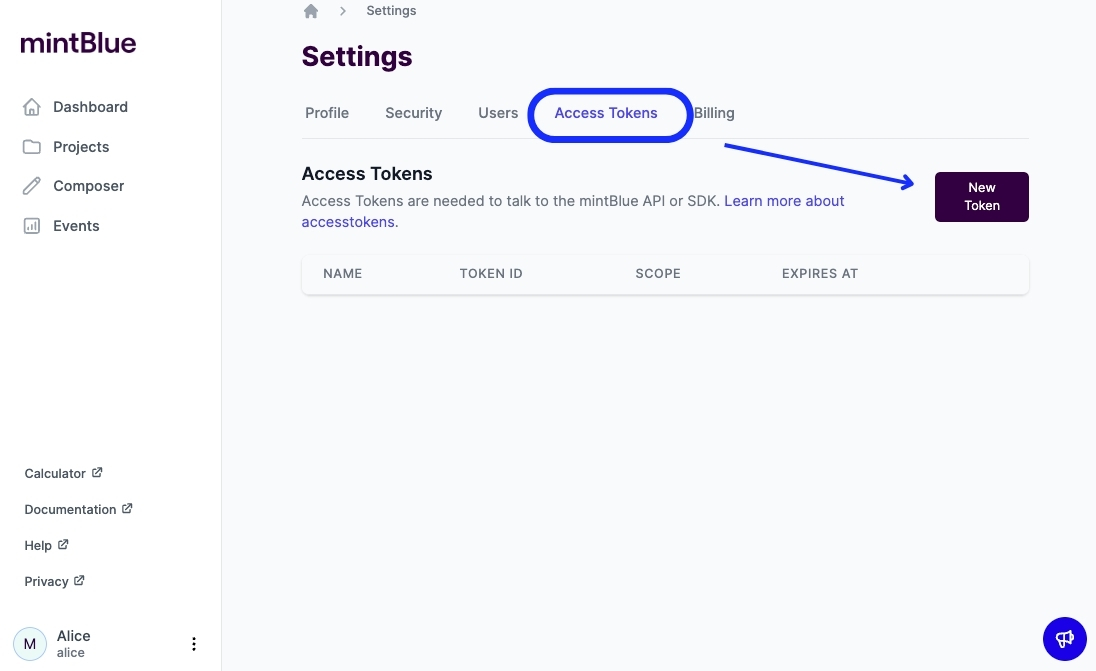
Give your access token a name and click the save button. You can optionally modify the expiration date for the token. By default, tokens don't expire.
If everything went well, we should see our API and SDK Access Tokens respectively. Make sure to copy these tokens and store them securely. You'll need them later.
Summary
In this onboarding tutorial, you've learned the following steps:
- ✅ Create an account
- ✅ Create a project
- ✅ Send a transaction
- ✅ Retrieve a transaction
- ✅ Create an access token
What should I learn next?
Continue learning how to get started with the mintBlue SDK. You can also explore the JSON-RPC server if you are working in a non-JavaScript environment.
JSON-RPC
Learn how to use the JSON-RPC server if you are working in a non-JavaScript environment.
Learn MoreEvent Listeners
Learn how to set up event listeners to track specific events within your project.
👂 Start listening